
Host a WebApp on an Azure Virtual Machine (Windows server) and Azure WebApp.
Side Hustle Portfolio Bootcamp Week I.


Table of contents

No headings in the article.
1. INTRODUCTION In the Side Hustle Bootcamp Cohort 6.0, we are grouped in specific teams to work on real-life projects together. Our project for week 1 for Cloud Computing Team 1 is to Host a web application on an Azure Virtual Machine (Windows Server) and an Azure Web App.
This basically allows users to access the web application over the internet. The web application was created on our local machine using Visual studio 2022 and it was hosted on both a Virtual machine and the Azure Web App.
This project was successfully implemented by the cloud computing team 1 which is a team of six people. We worked together by researching, bringing in our individual knowledge, experience and skill to ensure that the project was implemented successfully.
Members of Cloud Computing Team 1
- Jane Ohia
- Favour Tubonibo
- Maduabuchi Emezue
- Uvere Emmanuel Chinonso
- Steven Agubuche
- Airende Martins Ohiarebu
2. REQUIREMENTS
The tools required for the completion of this project is:
a.) An Azure Account: The Azure account is used in the creation of the virtual machine
b.) Visual Studio 2022
3. METHODOLOGY These are the steps used in the execution of this project.
STEP 1: Firstly, we installed Visual Studio 2022 which we used to create the web app using the default html file. During the installation, select ASP.Net and Web development, and Azure Development.
STEP 2: In Visual Studio 2022, we created a new project and used the ASP.Net core web app template.
STEP 3. Once the new project was been created. We clicked on the webapp play button to run the application, this opened a default webpage on the browser.
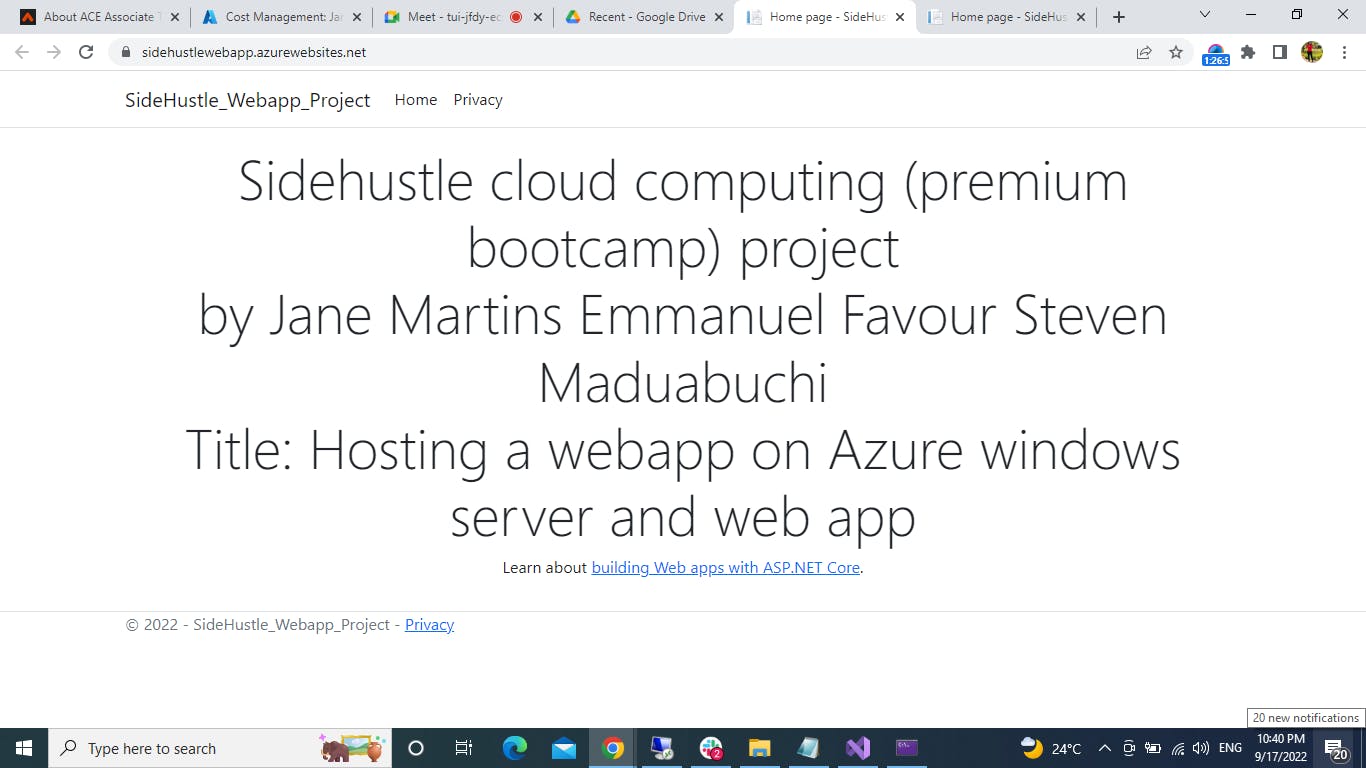
STEP 4. We changed the WebApp default webpage to display the names of the team members and the title of our project.
STEP 5. Next, we deployed an Azure Virtual Machine (Windows Server 2019). During the configuration process, for the size of the virtual machine, we chose DS2_V2, gave our virtual machine a username and a password that would be used when remoting into the virtual machine.
STEP 6. Then we configured Internet Information Services in the deployed Virtual Machine after remoting into the virtual machine.
STEP 7. Next, we added an inbound security rule http port 80 to the Network Security Group. This rule was applied for the Internet Information Service and because http uses port 80.
STEP 8. Then we assigned a DNS name to the VM.
STEP 9. Next, we added a rule for port 8172 to the Network Security group. This rule is for the management service
STEP 10. Then we added the role of the Management service on the virtual machine.
STEP 11. We enabled remote connections in the Management service configuration in (Internet Information Service) IIS.
STEP 12. To enable remote connections, click apply and click start to start the Management service.
STEP 13. We installed the .Net Hosting Bundle. This allows .Net applications to be hosted on (Internet Information Service) IIS
STEP 13.1 The IE Enhanced Security Configuration was turned off in order to deploy the web deploy executable.
STEP 13.2 On the web browser within the VM, we searched and download .NET 6.0 framework. Note: ASP.NET Core Runtime 6.0 should be used. The Windows Hosting Bundle Installer was downloaded.
STEP 14. On the web browser within the VM, the Web Deploy v3.6 tool was downloaded and installed.
STEP 15. The Azure account used for the deployment was added to Visual Studio 2022. STEP 15.1 This was done by clicking on tools at the top bar, then clicking on options. In the search bar type Azure. Under Azure Service Authentication, “Account selection” was selected, the account was chosen and we clicked “OK” STEP 15.2 On Visual Studio 2022, after right clicking on the name of the project by the left panel, we clicked “publish”, selected “Azure” and clicked next. Then we selected "Azure Virtual Machine” then clicked on next, selected the deploy VM and clicked on finish.
STEP 16. This created a publish profile. At the top of the page, In more actions, edit, connection, the connection was validated by providing the password for the Azure VM. The certificate was saved by ticking the box and accepting the Security certificate, then we click on save.
STEP 17. To publish the web application to the virtual machine, click “Publish”.
STEP 18. The DNS name was copied into the local machine browser to see our published Web Application.
HOSTING THE WEB APP ON AZURE WEB APP STEP 19. The Azure Web App was deployed from the Azure portal.
Note: we chose “code” under Publish and .NET 6 as the Runtime stack as shown below.
Also, we changed the SKU and Size to Basic B1, By clicking on change size, then select Dev/ Test and select B1, then apply. We set Application Insight to “No”
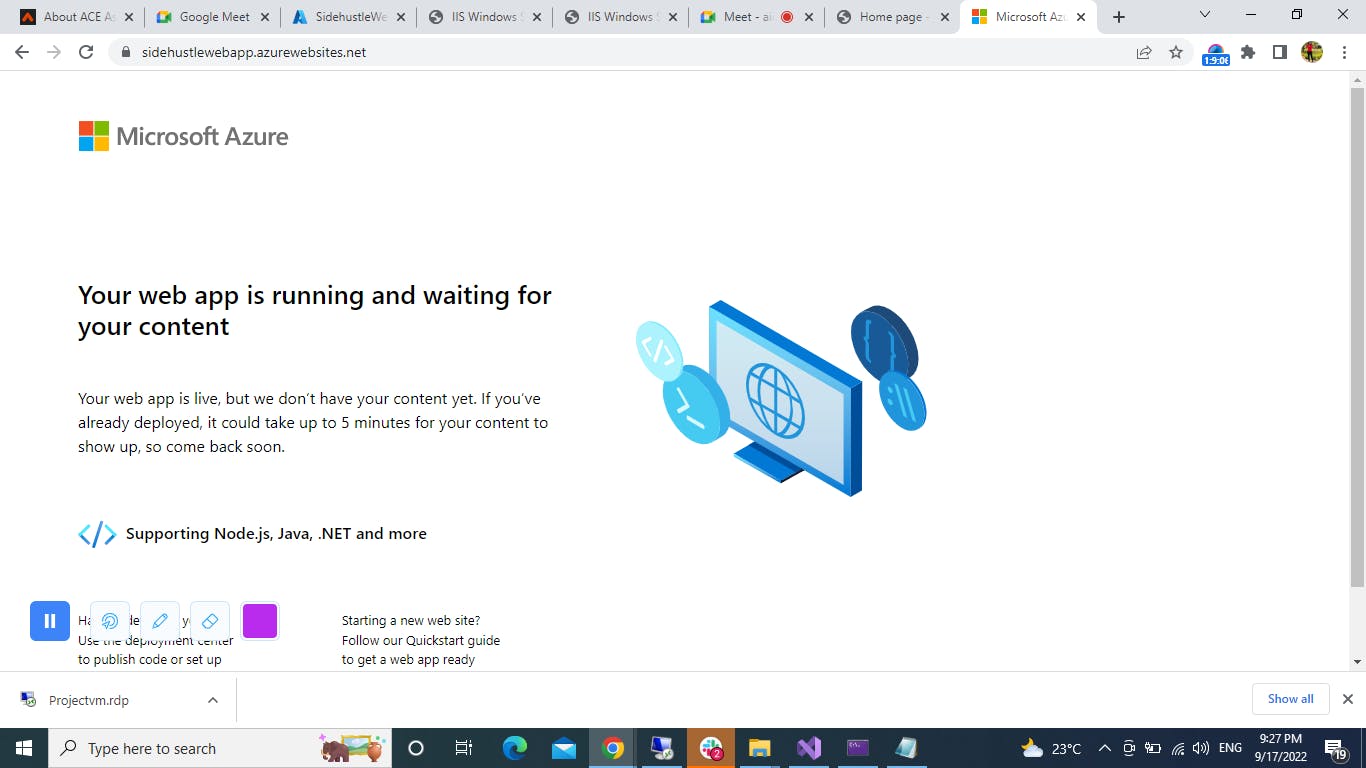
STEP 20: To confirm that the Azure WebApp service has been deployed properly, the WebApp URL was copied from the overview page and pasted on the browser of our local machine, this displayed a default Azure WebApp page.
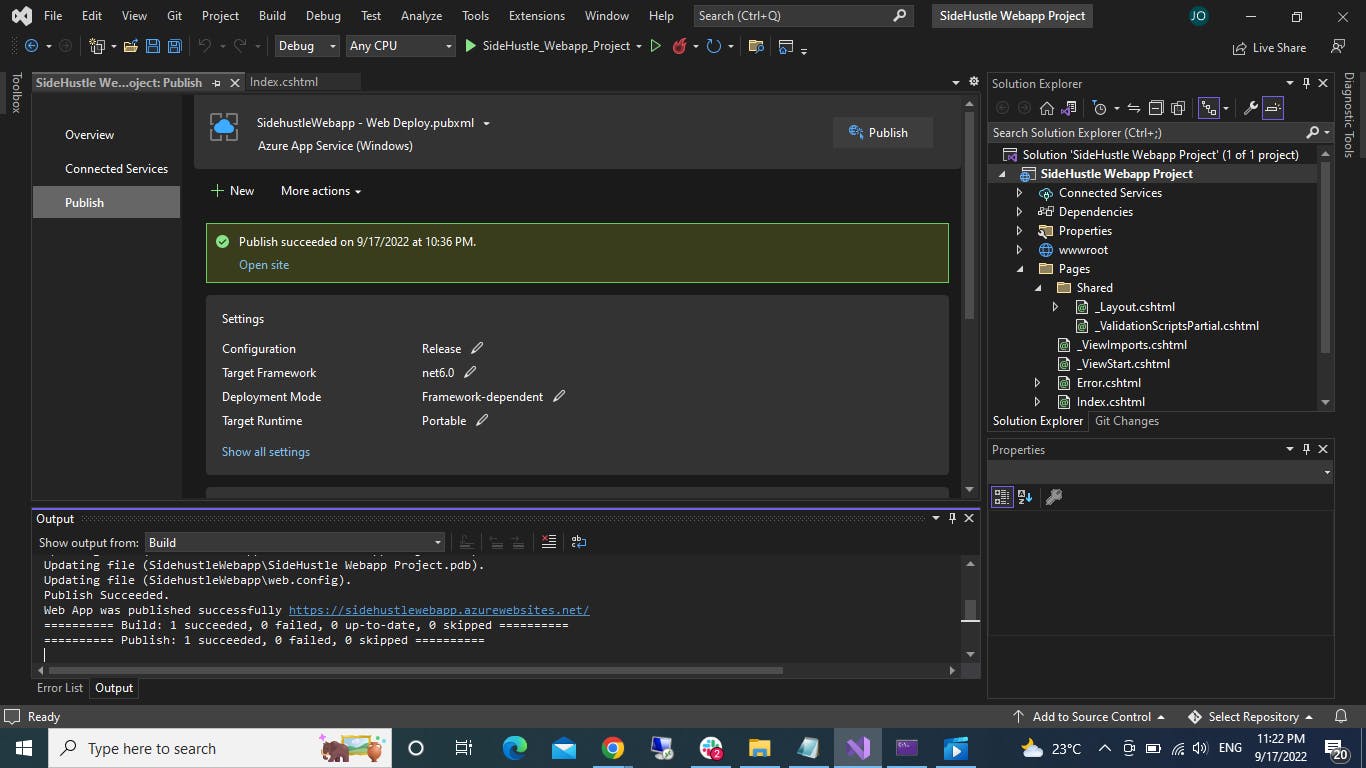
STEP 21. To publish our web app in the Azure Web App. In Visual Studio 2022, we right clicked on the name of the project and clicked “publish”. Selected “Azure” and clicked next, then selected " Azure App Service (Windows)” then clicked next. Selected the deploy Azure WebApp and clicked on finish.
STEP 22. Finally we click on “Publish” at the top of the page to publish the web app on the Azure web app. After publishing, we copied the URL and pasted on the browser of the local machine to make the we app accessible over the internet.